
Merry Christmas
The countdown to Christmas has begun! Not long now until we can all hopefully take a nice well earned break for a few days. If you’ve not already – have fun pulling the fairy lights out the attic and spending a solid afternoon trying to untangle them all!
As is our norm, this year’s card is carrying on the theme of the last few years – digital, with a challenge and no envelopes to lick or returned cards 9+ months later because the address was slightly wrong / someone had moved.
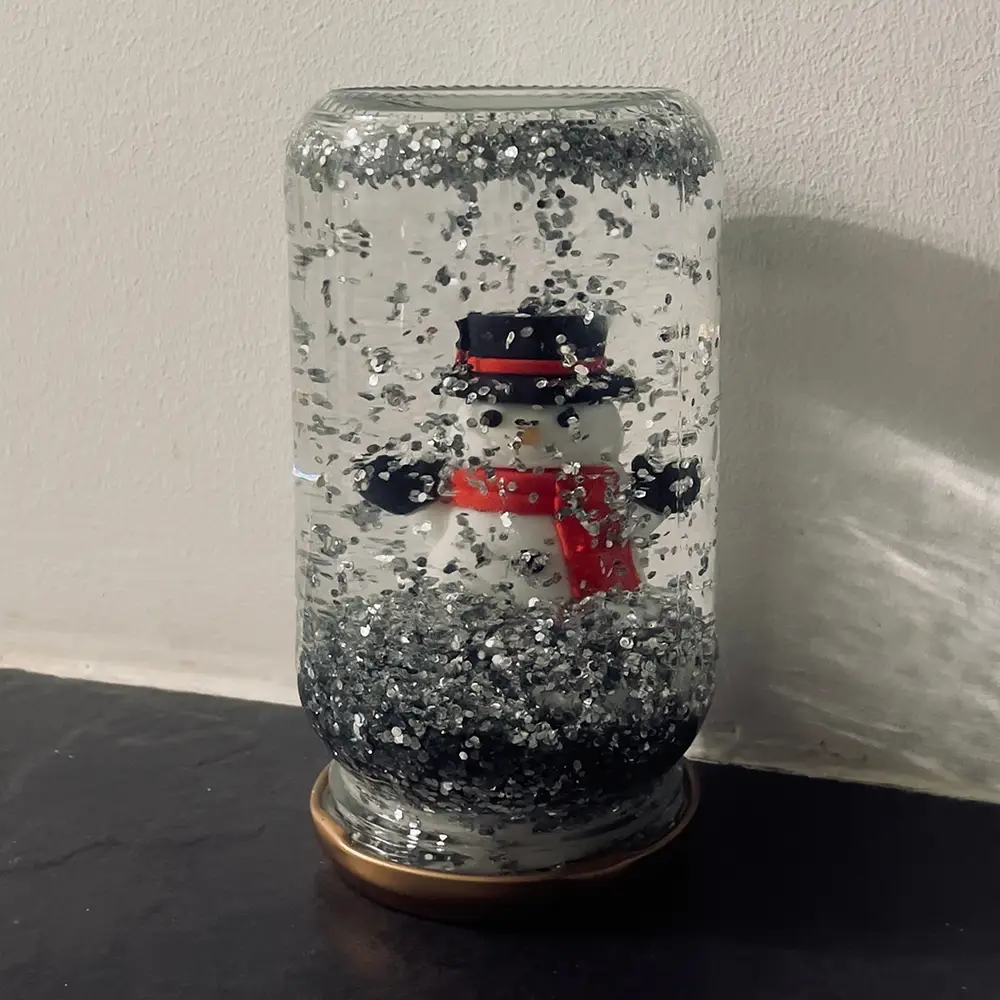
This year’s challenge is to create your own snow globe. Turns out to be easier than we thought, so absolutely no excuses from you this year for not joining in!
Standard jam jars work perfectly well, but if you can get fancy shaped ones (usually marmalade) they look even prettier. And obviously, please do check it’s watertight!
As always, with the money saved from the printing and postage, we’ve made a donation to Princess Alice Hospice, who do a fantastic job helping with end of life cancer care.
Have fun with the snow globes they’re really rather sweet. And finally, thank you as always for being brilliant, have a fantastic Christmas and we’ll catch up with you in 2025!
Make your own snow globe
Make your own snow globe
What do you need?
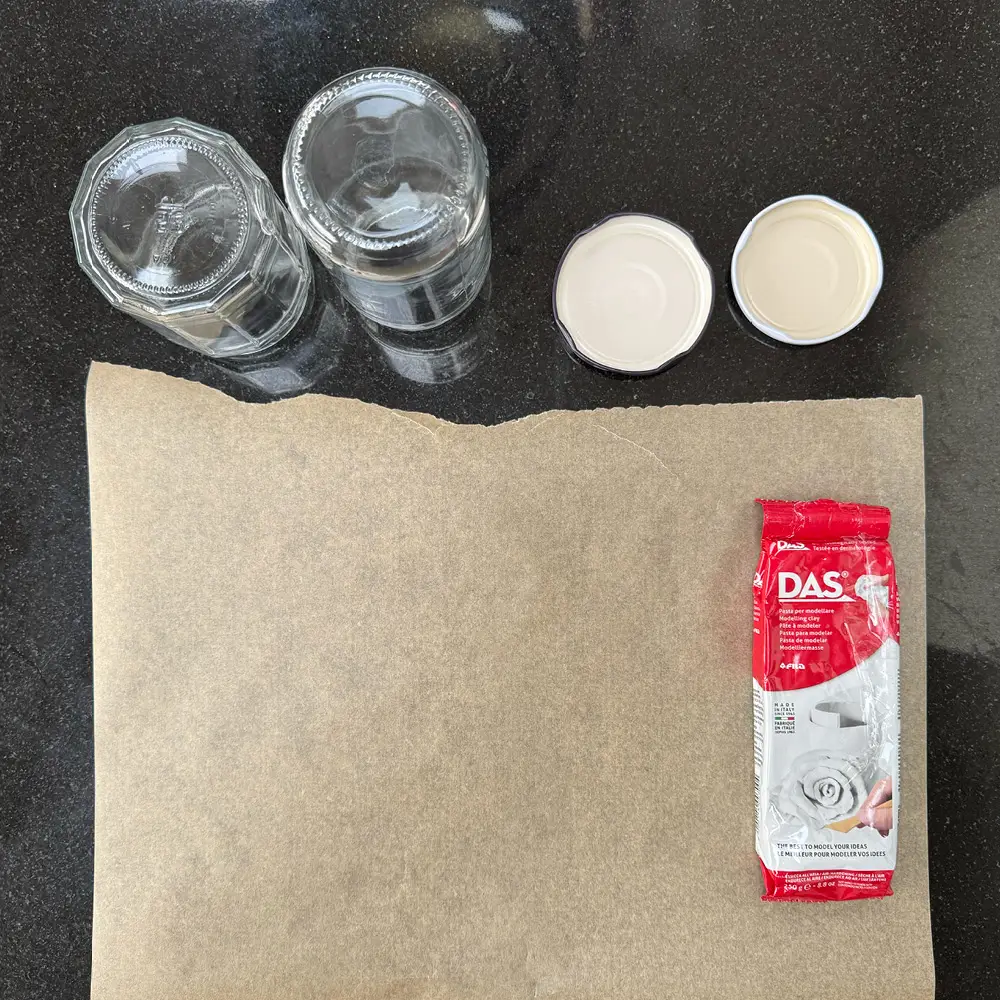
- Clean empty jam jar (with lid)
- Glitter (0.5-1 tsp and the finer the better)
- Superglue
- Glycerine (3 tsp)
- White air-dry modelling clay
- Plastic cake decorations
How to make them
- Test and make sure your jam jar is water tight otherwise it’s going to get messy!
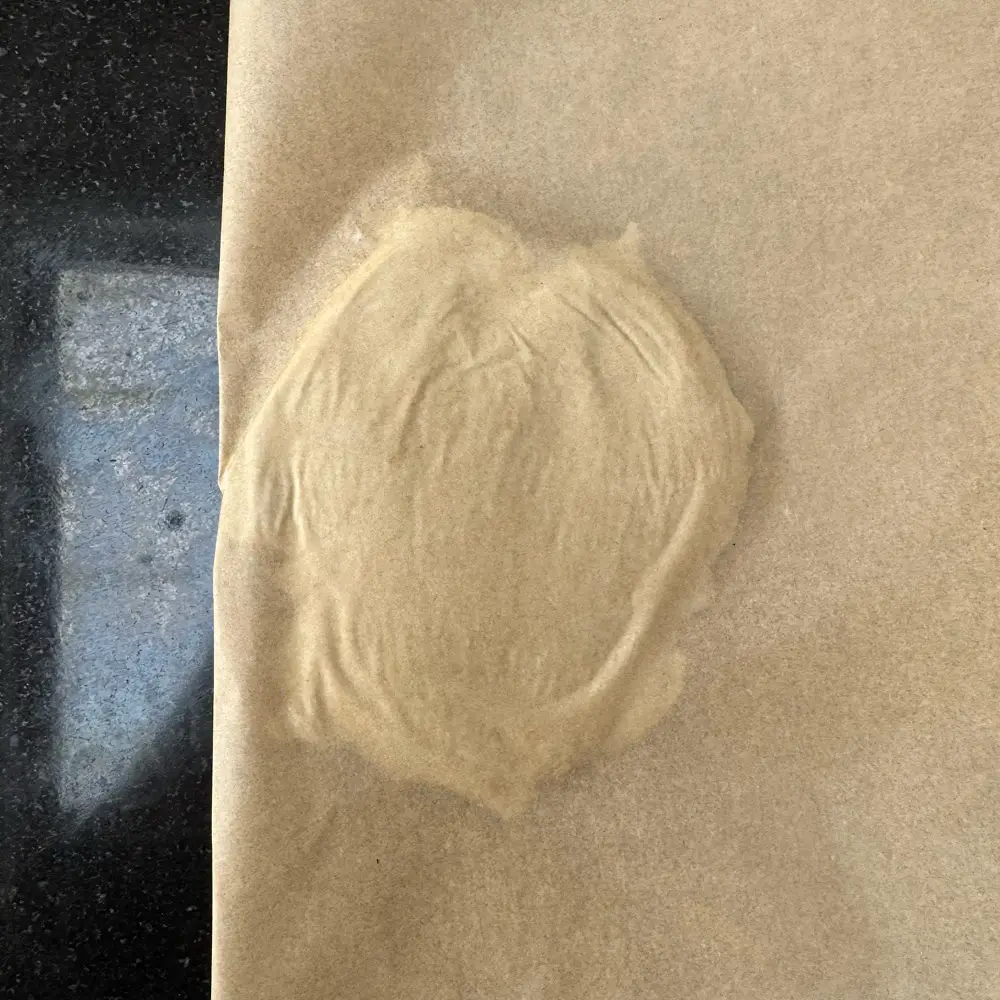
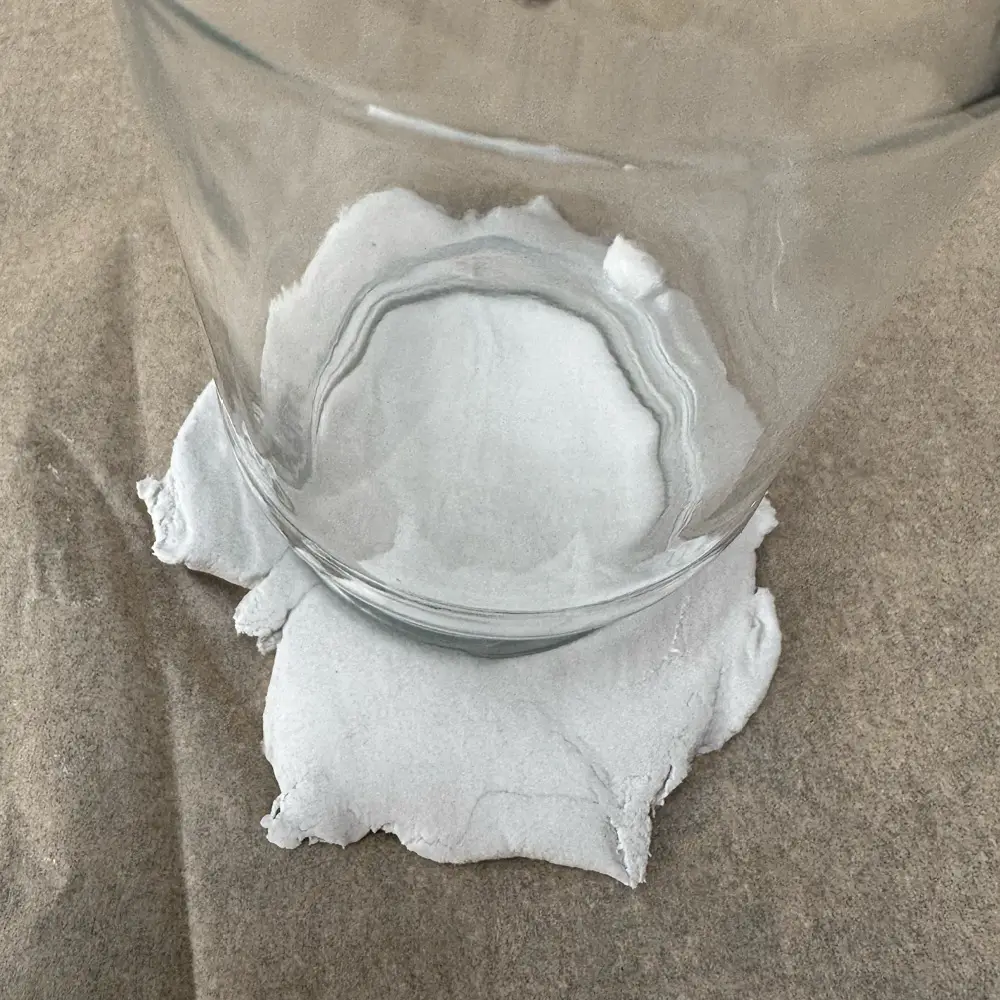
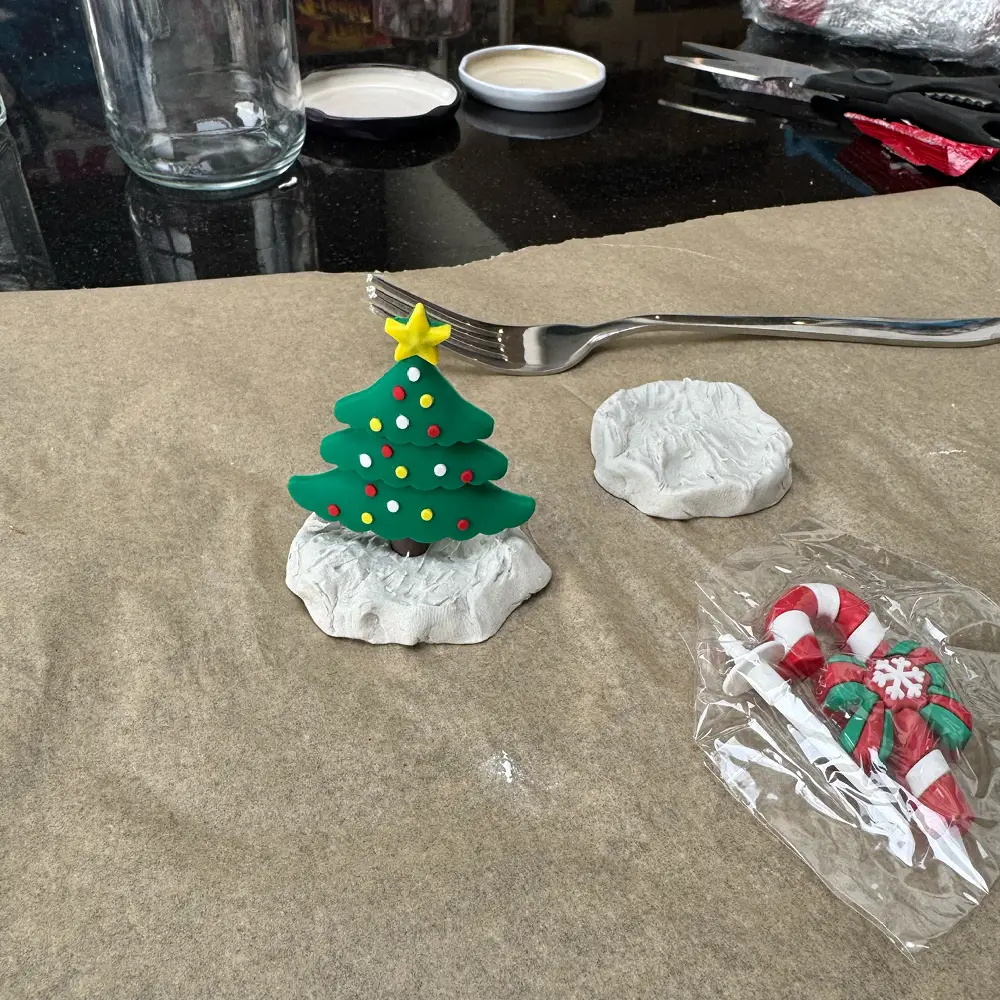
- Create a snowy base using the air dry clay in a disc shape a touch smaller than the jam jar opening (squashing the clay flat on baking paper works well and then using the jar to punch the disc out).
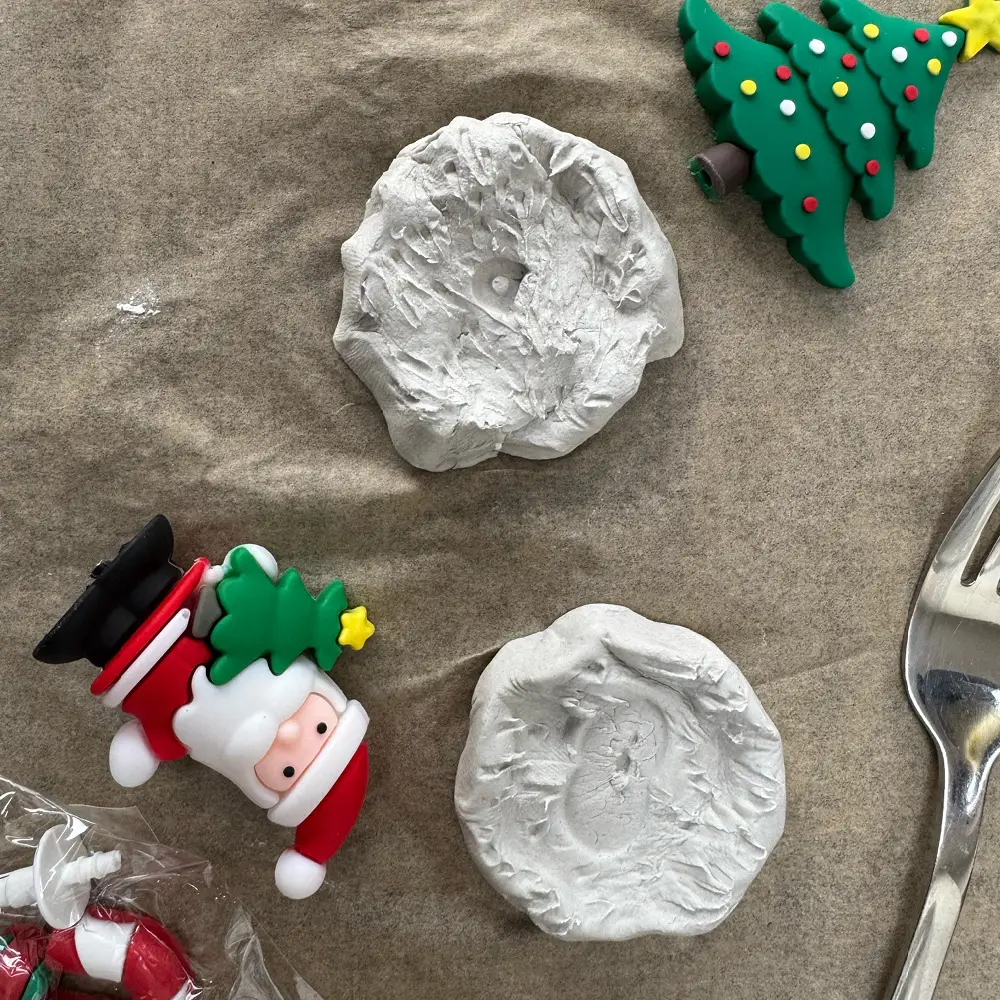
- You can leave the disc as-is, or add some texture and a bit more interest to it – then push the decoration in to it a bit (then take it out) to create a good join for it to stick to later.
- Leave to dry for 24-48 hours (a wire cooling rack works well).
- Superglue the cake decorations to the white clay disc, and leave to dry.
- Superglue the white clay disc to the inside of the jam jar lid (checking it fits!), and leave to dry.
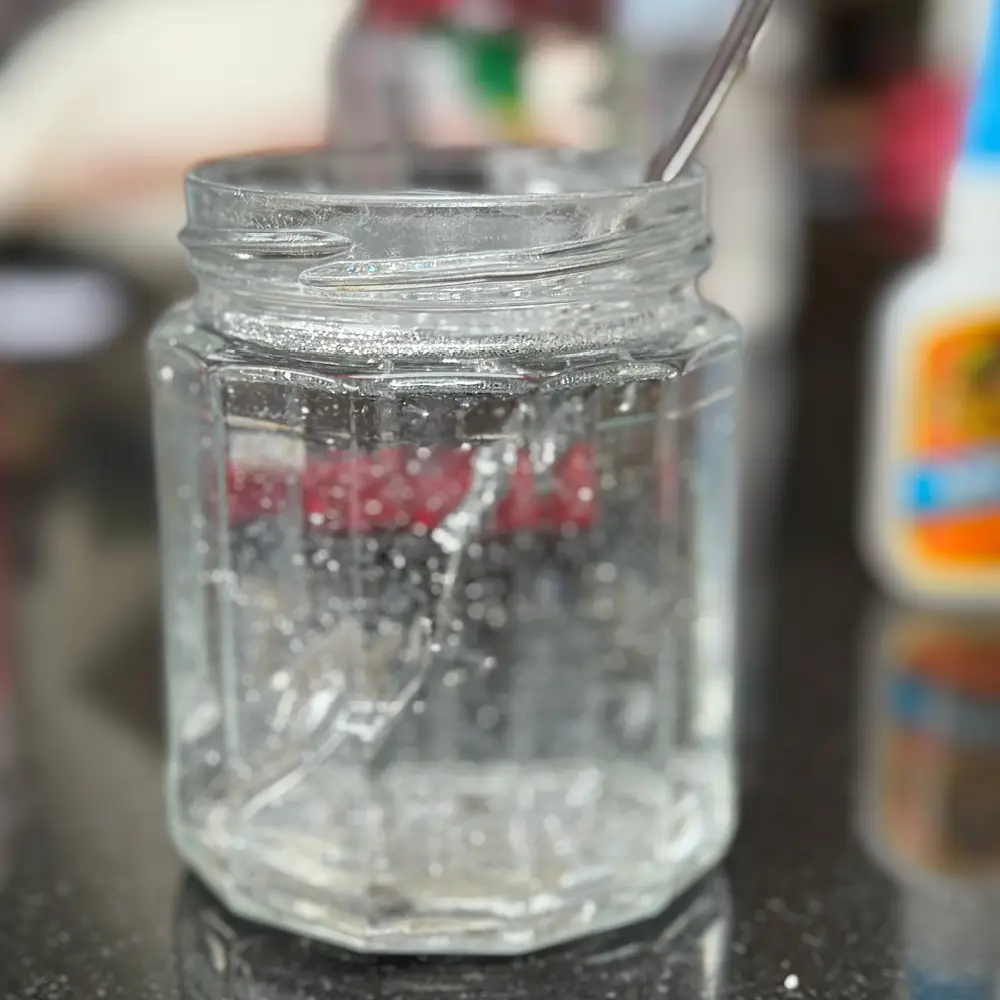
- Put 3 tsp of glycerine in the jam jar and then fill up with water, leaving a small gap at the top. Add 0.5-1 tsp of glitter and stir. The finer the glitter the better it works, and less is more for quantity.
- Put superglue around the rim of the jam jar and then tightly screw on the lid (complete with white clay disc and cake decoration). Leave to dry.
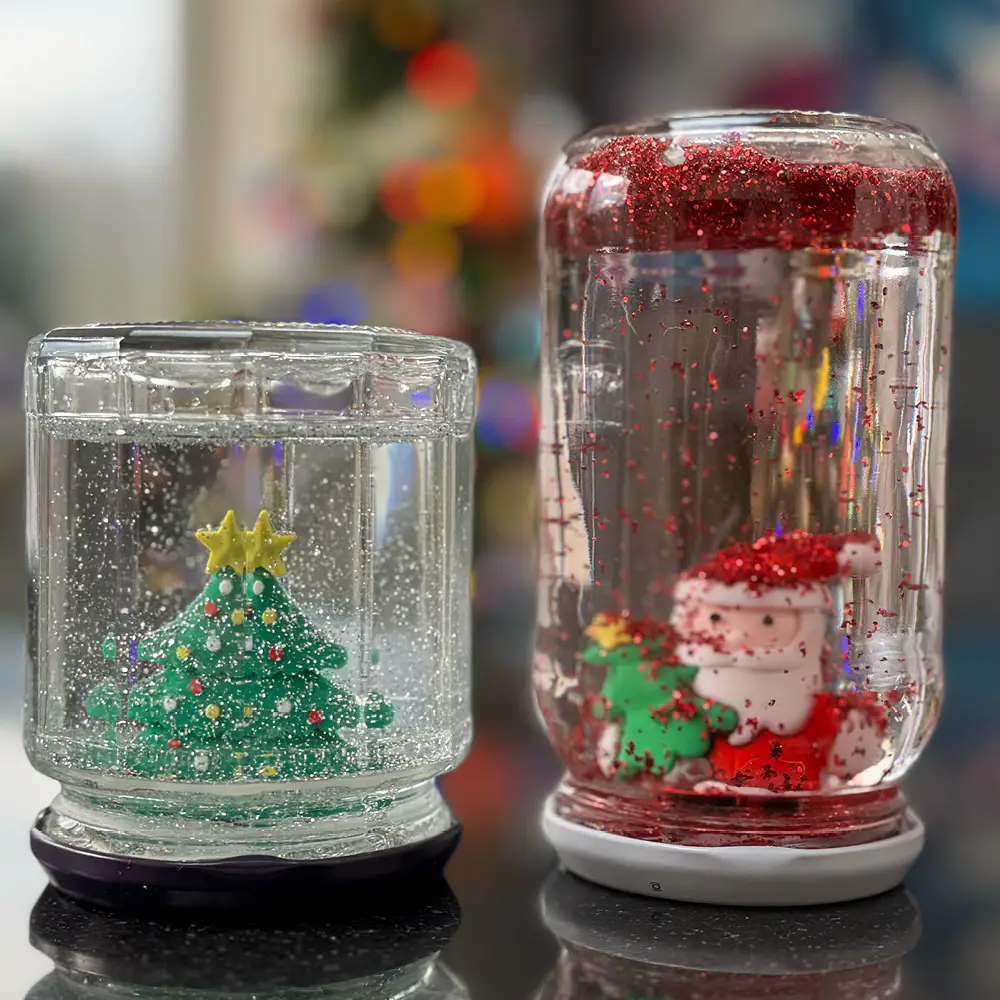
- Carefully, and over a sink, turn the jam jar upside down, give it a good shake and test for any leaks.
- Ta-dah!
What do you need?
- Clean empty jam jar (with lid)
- Glitter (0.5-1 tsp and the finer the better)
- Superglue
- Glycerine (3 tsp)
- White air-dry modelling clay
- Plastic cake decorations
How to make them
- Test and make sure your jam jar is water tight otherwise it’s going to get messy!
- Create a snowy base using the air dry clay in a disc shape a touch smaller than the jam jar opening (squashing the clay flat on baking paper works well and then using the jar to punch the disc out).
- You can leave the disc as-is, or add some texture and a bit more interest to it – then push the decoration in to it a bit (then take it out) to create a good join for it to stick to later.
- Leave to dry for 24-48 hours (a wire cooling rack works well).
- Superglue the cake decorations to the white clay disc, and leave to dry.
- Superglue the white clay disc to the inside of the jam jar lid (checking it fits!), and leave to dry.
- Put 3 tsp of glycerine in the jam jar and then fill up with water, leaving a small gap at the top. Add 0.5-1 tsp of glitter and stir. The finer the glitter the better it works, and less is more for quantity.
- Put superglue around the rim of the jam jar and then tightly screw on the lid (complete with white clay disc and cake decoration). Leave to dry.
- Carefully, and over a sink, turn the jam jar upside down, give it a good shake and test for any leaks.
- Ta-dah!
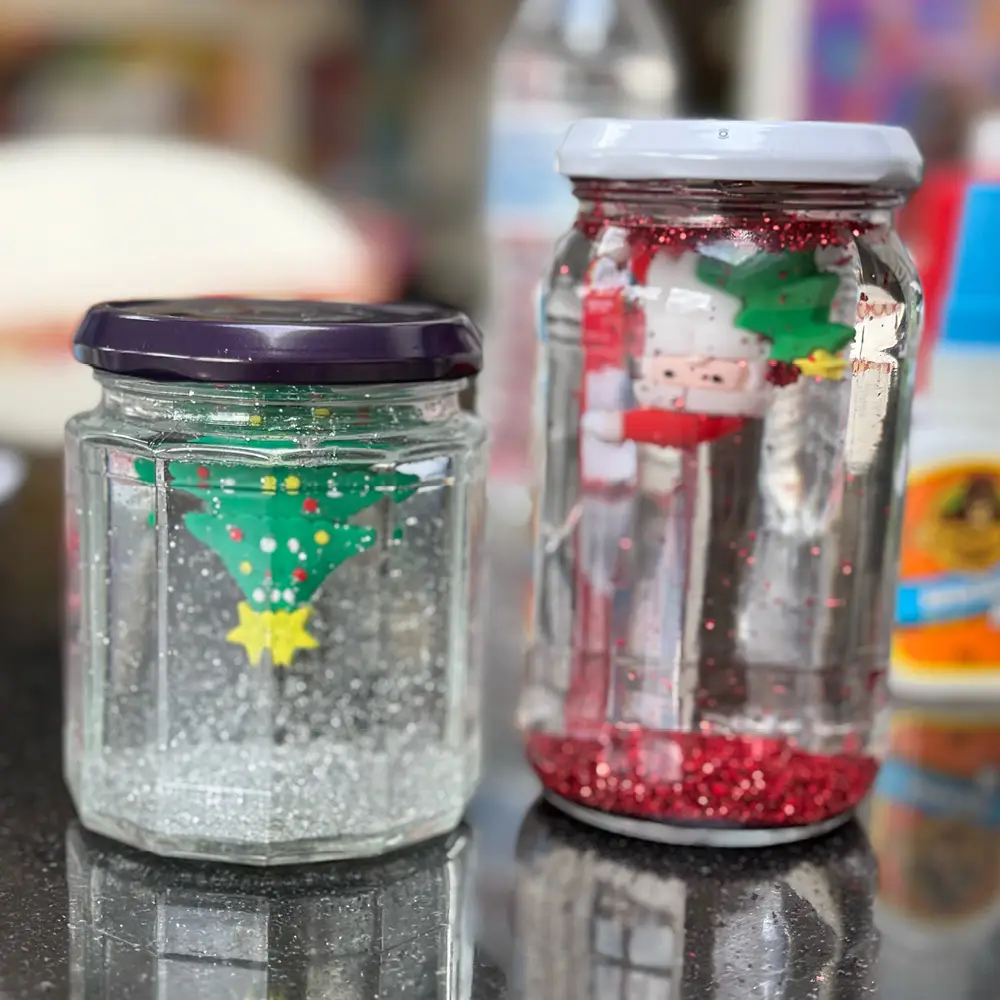
And here’s a couple we made…

Dates for your diary
THURSDAY 19 DECEMBER 2024
Our last working day of the year
MONDAY 6 JANUARY 2025
Our first day back in the studio
Right, scram, it’s Christmaaaaaaaaas!
Studio E6,
Mainyard Studios,
17 Lyon Road,
London, SW17 2RL
+44 (0)20 3006 6795
info@endeavour.agency
Copyright © 2026
Endeavour Creative Ltd
All rights reserved
Studio E6,
Mainyard Studios,
17 Lyon Road,
London, SW17 2RL
+44 (0)20 3006 6795
info@endeavour.agency
Copyright © 2026
Endeavour Creative Ltd
All rights reserved
Studio E6, Mainyard Studios,
17 Lyon Road, London, SW17 2RL
+44 (0)20 3006 6795
info@endeavour.agency
Copyright © 2026
Endeavour Creative Ltd
All rights reserved